Asset overview
Understand the setup.
Then make it your own.
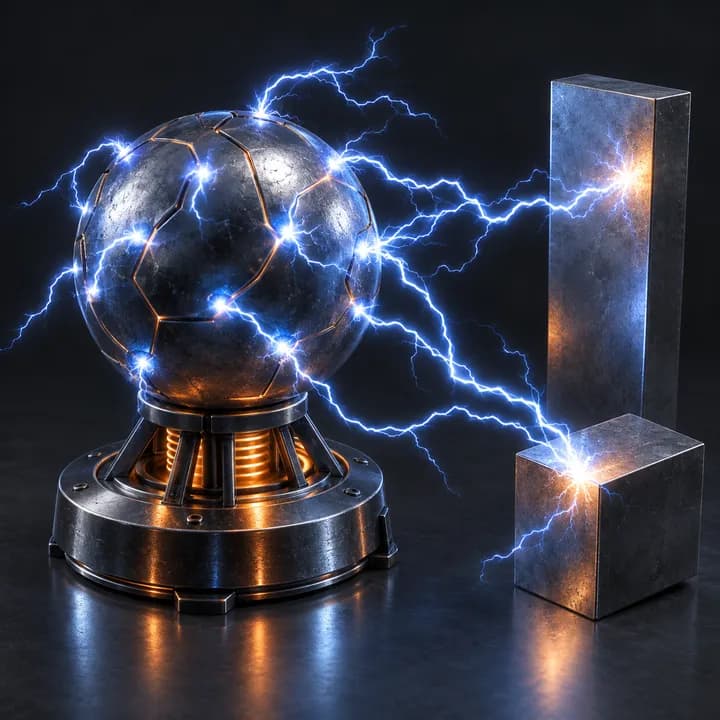
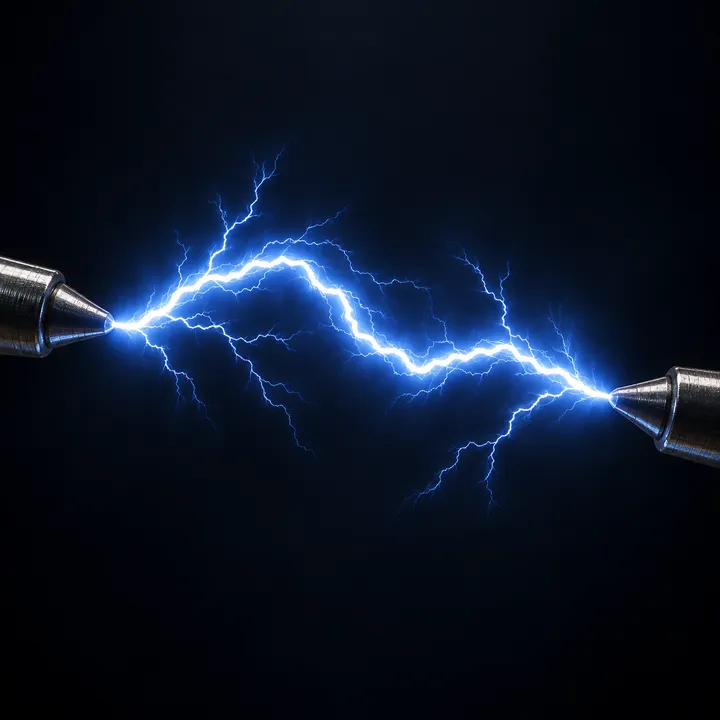
Electrify is a Blender Geometry Nodes asset in OmniKit’s buildings collection.
MESH / MESH INSTANCES: drop onto a mesh. Surface-following electrical paths, not free-air lightning. Keep Original includes the input. Apply scale for predictable thickness. Use Subdivide 0-1 first; Max Arcs caps tube count. Ensure Sources/Arcs helps small islands. Start Selection masks starts, not entire paths. Continuous Arcs shows complete paths; disable for Travel/Path Length. Use Scene Time or manual Time in seconds. Bundled Plasma material supports Arc Color and Emission Strength; custom materials may ignore those attributes. Cycles / Eevee: use rendered view; glow needs compositor helper .OMNI Electrify - Bloom (included in example). Arc Curves output supports downstream curve editing.
Its exposed inputs include Enabled, Realize Instances, Subdivide, Seed, Sources, Arcs, Ensure Sources. Review the control reference below to plan a suitable setup.
Source and setup notes
Source node name: OMNI - Electrify
Collection: 22 Geometry Nodes/VFX/Electricity & Lightning
Structural inspection used Blender 5.2.0 LTS. Other releases and render engines require separate checks.
How to approach this asset
- Check the source notes for the expected mesh, curve, field, shader or World context.
- Start with a disposable scene and a suitable input. Inspect required object, material or collection inputs.
- Adjust one documented control at a time. Evaluate the result before using it in a production project.